A chef’s artistry is often measured by their knife skills, and knowing how to sharpen carving knives is a fundamental aspect of that prowess. This guide aims to equip culinary enthusiasts with the knowledge and techniques how to sharpen carving knives. Also keeping their carving knives impeccably sharp, ensuring that every slice and carve is performed with precision and ease.
Throughout this guide, we will navigate the various methods of sharpening, from traditional whetstones to modern sharpening gadgets. We’ll dissect the anatomy of a carving knife to understand what keeps it sharp, discuss the importance of maintaining the right angle, and reveal how to test for sharpness.
With a sharp knife, the kitchen transforms into a place of greater creativity and productivity. Chefs who invest time in learning to sharpen their knives find that not only do their ingredients maintain their texture and flavor better, but their prep work becomes more enjoyable and efficient.
Thus, we encourage chefs at every level to see the value in this essential skill. By the end of this guide, the process of sharpening your carving knives will not just be a routine, but a respected ritual that enhances the entire culinary experience. Let’s begin this sharpening journey, ensuring your blades are as ready as you are to create culinary wonders.
Table of Contents
Understanding Carving Knives
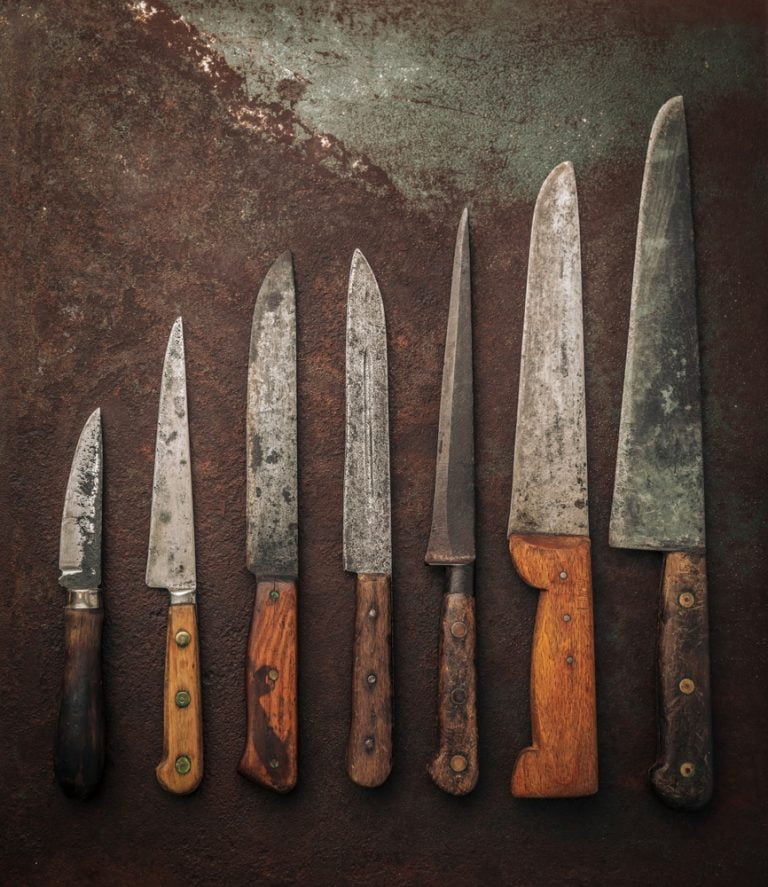
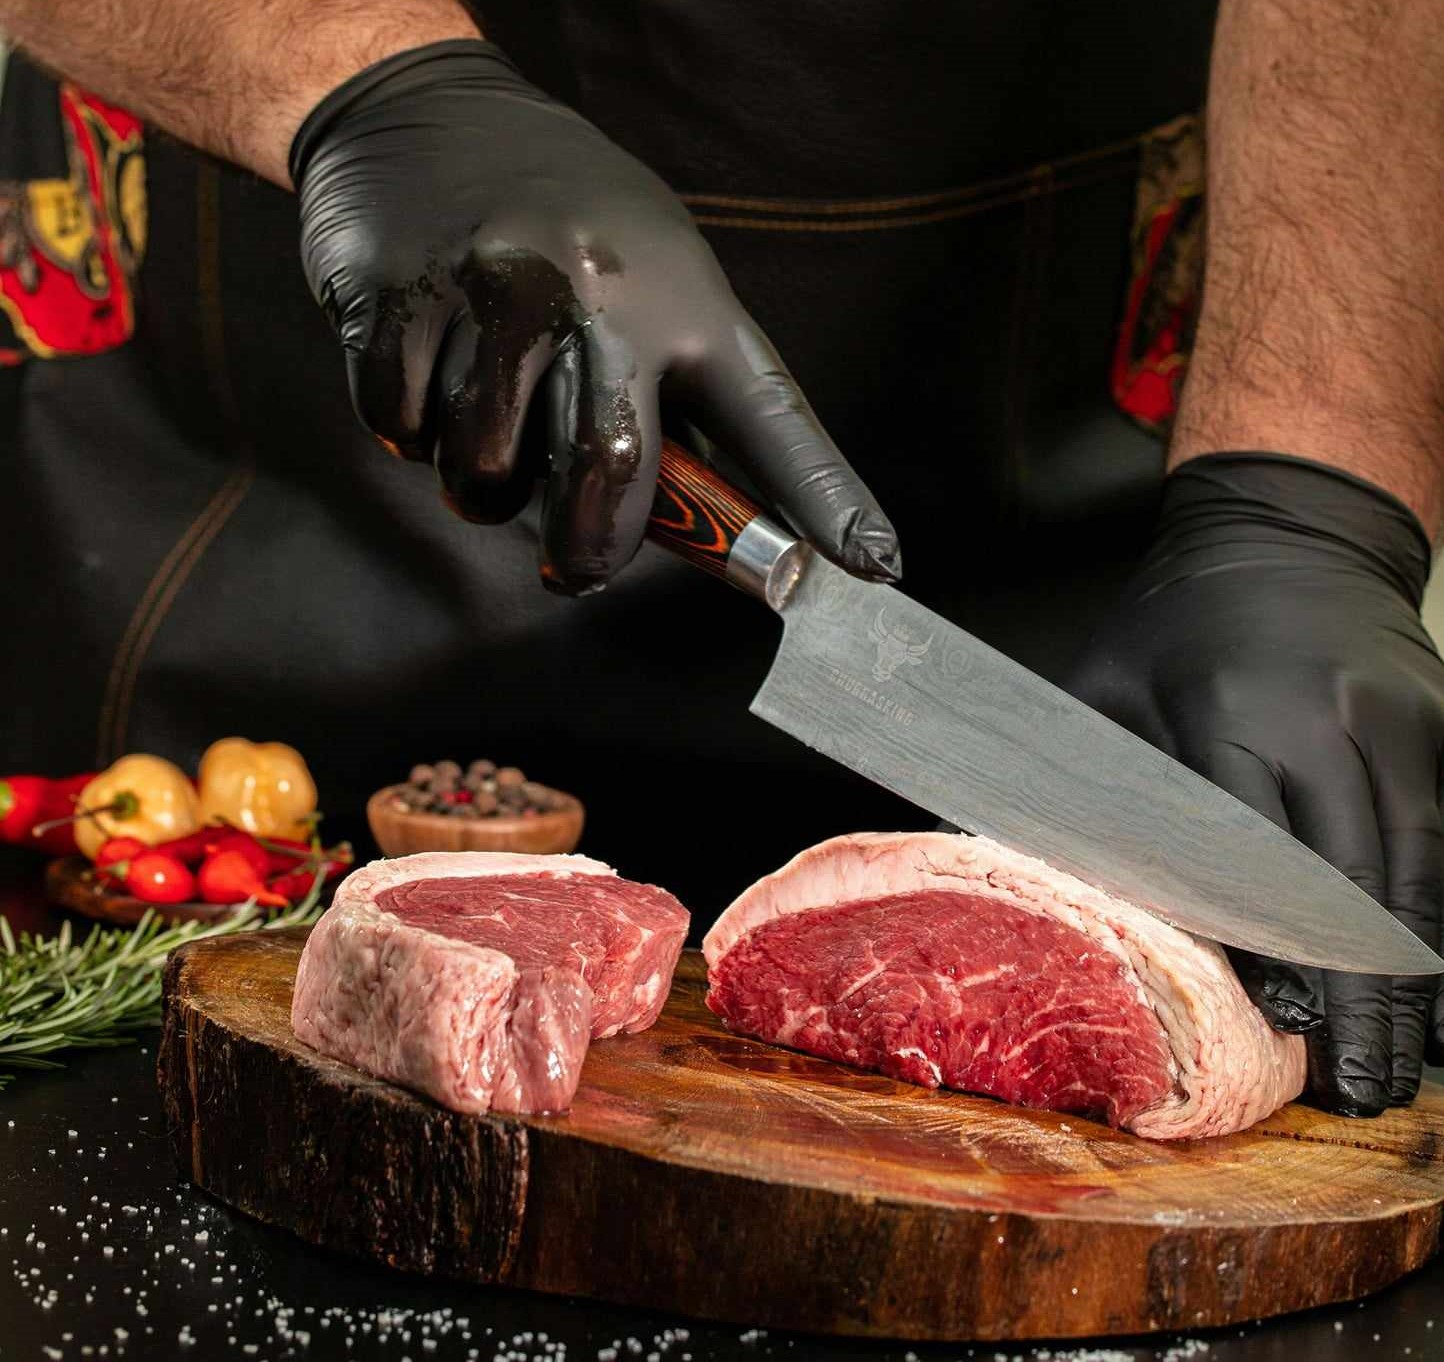
Carving knives are a specific type of kitchen cutlery, designed with a particular purpose in mind: to slice through cooked meats and poultry with surgical precision. Characterized by their long, narrow blades and sharp points, carving knives are engineered to cut clean, thin slices with minimal effort. The blade length, which usually ranges from 8 to 15 inches, allows for a longer draw across the meat, which means fewer movements and smoother cuts.
The role of a carving knife in the kitchen is both specialized and celebrated. When the oven timer chimes and the roast is ready, it’s the carving knife’s time to shine. It’s the tool that transforms a roasted joint of meat into neatly sliced portions that are as pleasing to the eye as they are to the palate. Whether it’s the Thanksgiving turkey or a Sunday roast beef, the carving knife must perform with grace and efficiency, ensuring that the fruits of long hours of cooking are presented at their best.
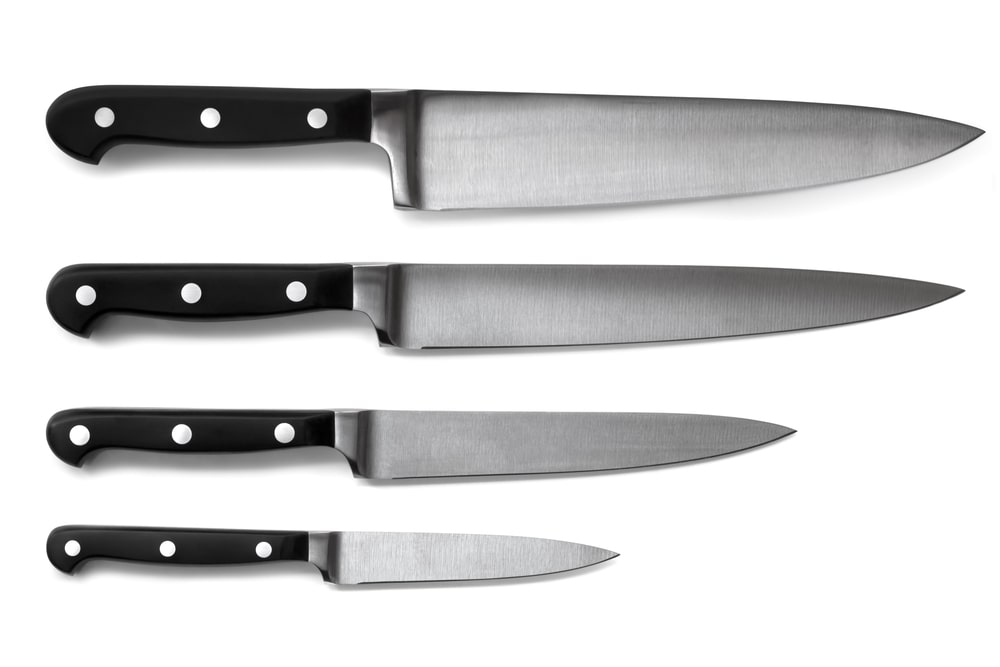
Unlike the chef’s knife, which is more versatile, the carving knife is designed with a narrower focus. The blade is thinner and often more flexible, designed to navigate around bone and through fibrous tissues with ease. This is in stark contrast to the broader, heavier blade of a chef’s knife, which is meant for chopping, dicing, and mincing a variety of ingredients. Similarly, while a bread knife features serrations to tackle the crust of a loaf without crushing it, a carving knife’s smooth edge is all about maintaining the integrity of meat fibers for perfect slices.
Another knife often confused with the carving knife is the slicing knife, which is similar in shape but typically longer and more flexible. Slicing knives are intended for delicate cuts of softer meats and fish. The carving knife, with its sturdier build, is better suited for the denser texture of larger roasts.
Understanding these nuances is essential for any chef or home cook, as choosing the right knife for the job is key to both the ease of preparation and the quality of the final presentation. A well-chosen carving knife not only complements the chef’s skill but also highlights the quality of the meat, making it an indispensable tool in the kitchen arsenal.
The Basics of Knife Sharpening
To sharpen a carving knife effectively, one must first understand the anatomy of a sharp knife. The edge is the business end of a knife, the sharpened bottom part that does the cutting. Directly above the edge is the bevel, which is the angled surface that leads up to the edge. The angle of the bevel is critical; it’s the taper that determines how sharp and durable the edge is. A more acute angle results in a sharper knife, but it may also make the edge more fragile. Conversely, a larger angle yields a less sharp but more durable edge.
The sharpening process involves two stages: grinding and honing. Grinding is the act of removing metal from the blade to create a new edge. This is typically done when the knife is significantly dull or has nicks and chips. Honing, on the other hand, is the regular maintenance that straightens the edge of the knife. It doesn’t remove much metal but realigns the edge that can fold over from regular use.
Selecting the right sharpening tools is essential for effective knife maintenance. Whetstones, also known as sharpening stones, are arguably the most traditional and versatile tools for sharpening knives. They come in various grits, from coarse, which is used to repair and shape an edge, to fine, which polishes the edge for a smooth finish. Honing rods, often mistakenly referred to as ‘sharpeners’, are used to hone an edge, not to grind away metal. They are ideal for maintaining an edge and extending the time between actual sharpening’s. Lastly, pull-through sharpeners are a more user-friendly option, with preset angles that allow a knife to be pulled through slots with abrasive surfaces to sharpen the edge.
Each tool requires a different technique and offers a different level of control over the sharpening process. The choice of tool will depend on the user’s skill level, the condition of the knife, and the desired sharpness of the blade.
Sharpening Techniques for Carving Knives
Sharpening a carving knife is a skill that, when mastered, can elevate your culinary prowess significantly. Here’s how to maintain the edge of your carving knife using a whetstone and a honing rod, as well as tips for keeping consistent angles and pressure.
Step-by-Step Guide on How to Use a Whetstone
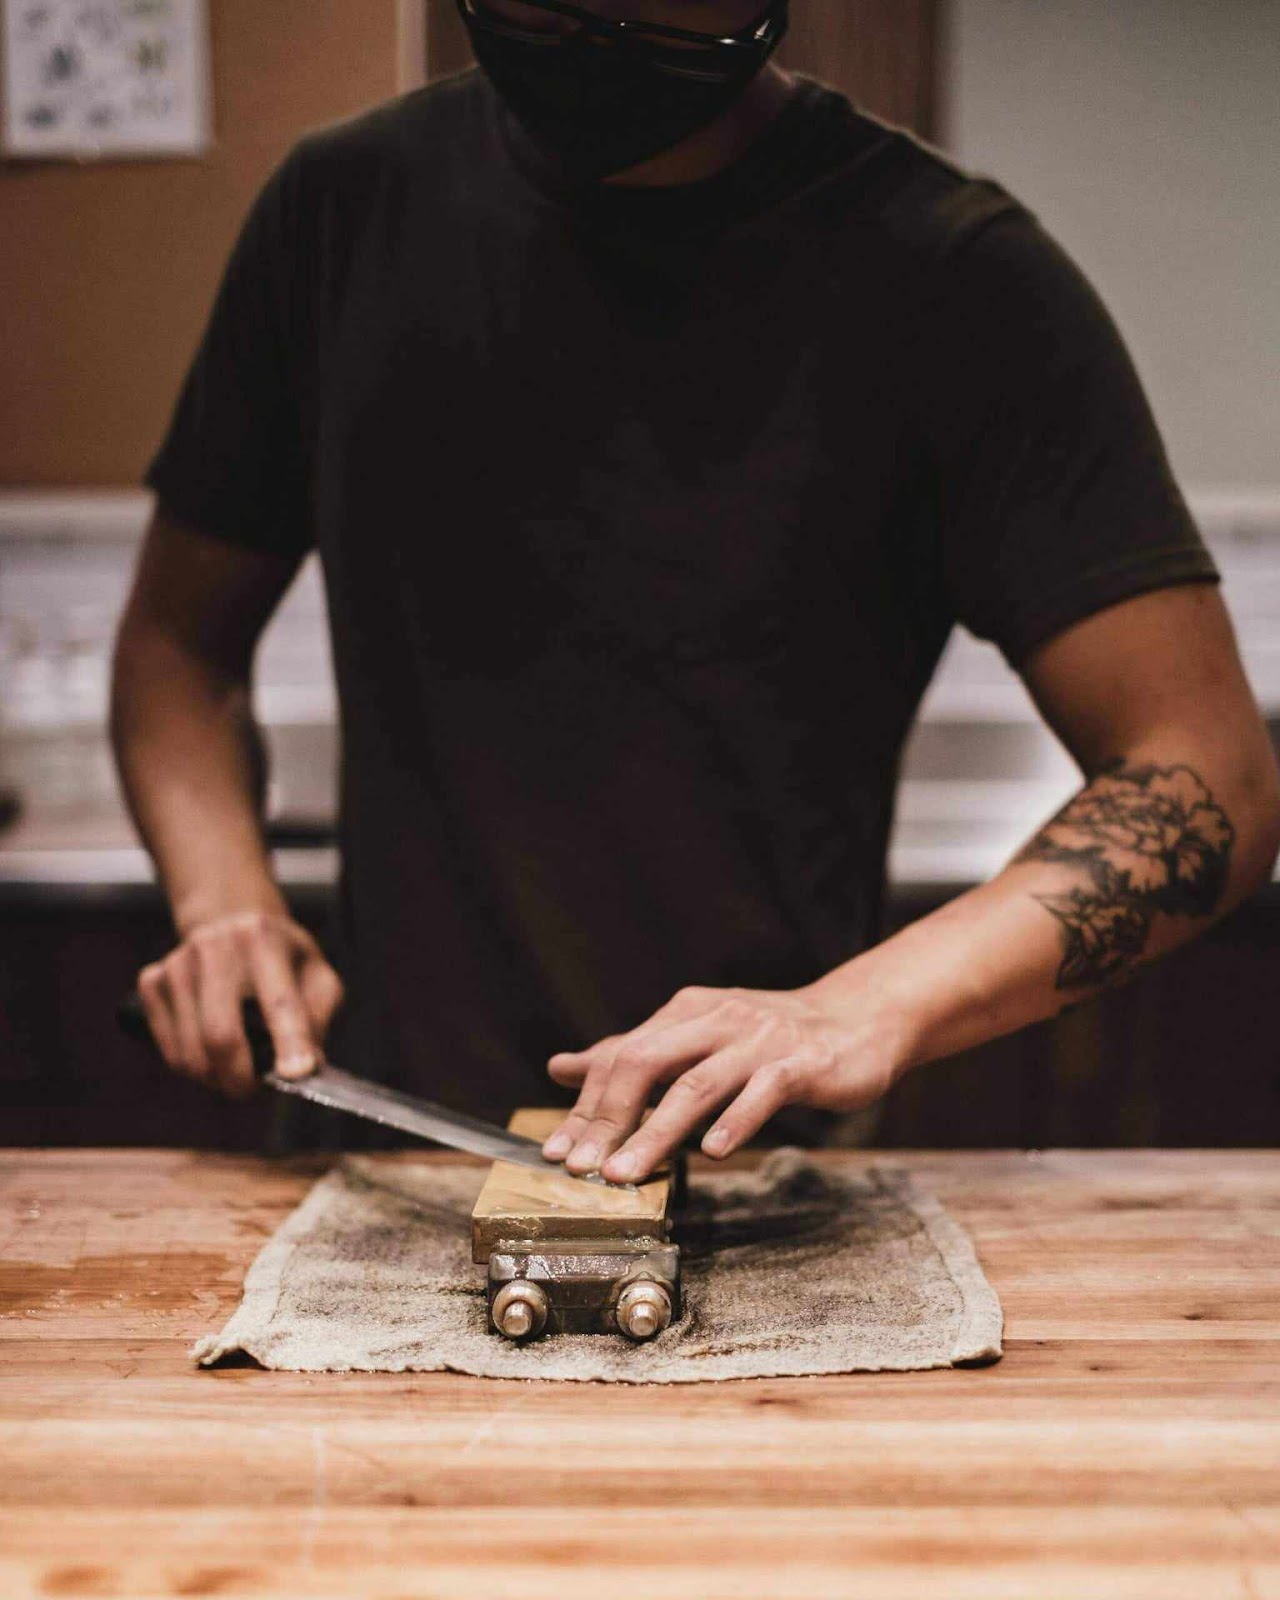
1. Preparation: Begin by soaking your whetstone in water for about 10 to 20 minutes to ensure that it’s completely saturated. This is necessary for water stones, while oil stones require honing oil. Place the stone on a non-slip base to keep it steady during sharpening.
2. Finding the Angle: Hold the knife at the correct angle against the whetstone. For carving knives, an angle of 15-20 degrees is usually ideal. An angle guide can be used to aid in consistency.
3. Starting the Sharpening: With the edge facing away from you, push the knife across the stone in a sweeping motion, as if you’re trying to slice a thin layer off the top. Start at the tip and work your way down to the base of the blade, ensuring the entire edge makes contact with the stone.
4. Checking Your Work: After several strokes, check the edge for a burr, a slight lip on the opposite side of the edge, which indicates that the metal has been worked enough on one side.
5. Flipping the Knife: Once a burr is established, flip the knife over and repeat the process on the other side to ensure an even sharpening.
6. Refining the Edge: Move to a finer grit stone and repeat the process to polish and refine the edge.
7. Final Inspection: Clean the knife and inspect the edge for uniformity and sharpness.
Honing with a Rod for Daily Maintenance
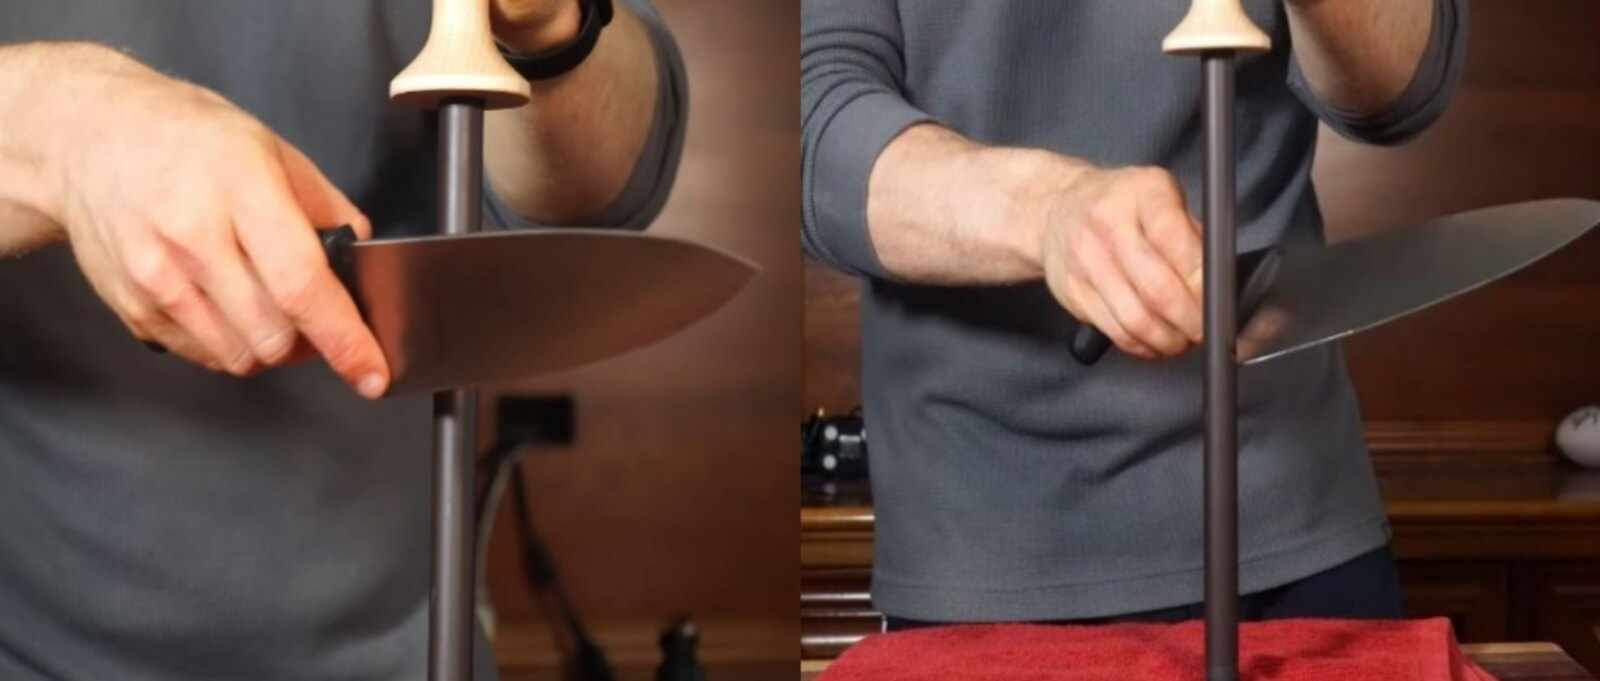
1. Angle Consistency: Hold the honing rod vertically and run the knife down the rod at the same angle you used for sharpening (15-20 degrees), ensuring to cover the entire length of the blade.
2. Gentle Pressure: Use light pressure, letting the rod realign the edge without removing significant metal.
3. Even Strokes: Alternate strokes on each side of the blade to maintain an even edge.
The Role of Sharpening Angles for Carving Knives
The sharpening angle is critical because it determines the sharpness and durability of the blade. A smaller angle will be sharper but more prone to dulling and chipping, while a larger angle holds up better but isn’t as sharp. Carving knives benefit from a finer angle to achieve the precision needed for thin slicing.
Tips for Maintaining Consistency and Pressure
- Use Angle Guides: These tools can help you maintain the correct angle throughout the sharpening process.
- Mark the Edge: Use a marker on the edge; if the marker is removed evenly, you’re maintaining the correct angle.
- Consistent Stroke Count: Keep track of your strokes and apply the same number to each side of the blade.
- Light, Even Pressure: Excessive force can damage the blade and the stone. Use just enough pressure to maintain contact and allow the stone to do the work.
- Regular Practice: Sharpening is a skill that improves with regular practice. The more you do it, the better you’ll become at maintaining the correct angle and pressure.
By following these techniques, you will ensure that your carving knife remains a reliable tool for creating beautifully presented dishes.
Advanced Sharpening Methods
For those looking to refine their sharpening skills further, understanding the nuances of different stones, the intricacies of Japanese water stone techniques, and the finishing touch of stropping are essential.
Exploring Different Sharpening Stones: Grit Sizes and Their Purposes
Sharpening stones come in a wide range of grit sizes, each designed for a specific stage in the sharpening process:
- Coarse Grit (200-500): These stones are used for repairing damaged edges or for initial sharpening of extremely dull knives. Coarse grit removes a lot of material quickly, setting the stage for finer sharpening.
- Medium Grit (800-1200): A middle-of-the-road option that sharpens relatively dull knives without removing too much metal. This is often used as a starting point for routine sharpening.
- Fine Grit (2000-3000): Fine stones refine the edge created by coarser stones, smoothing out scratches and improving sharpness.
- Extra-Fine Grit (4000-8000): These stones are for honing and polishing the edge to a mirror-like finish, which contributes to the knife’s ability to glide through food with minimal resistance.
The Japanese Water Stone Technique
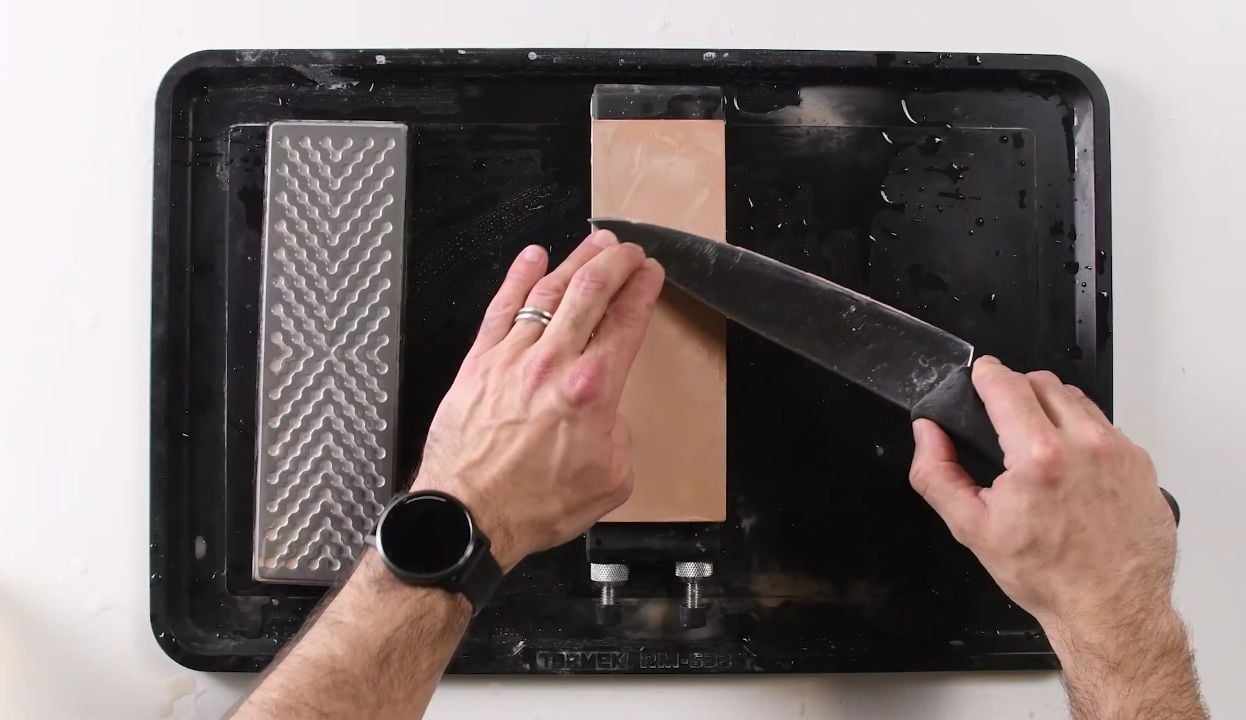
The Japanese water stone technique is revered for producing exceptionally sharp blades. Here’s a condensed guide:
- Soaking: Submerge the water stone in water until bubbles cease to rise. This saturation is crucial for the lubrication and sharpening process.
- Stabilizing: Place the stone on a non-slip mat or holder to ensure it remains stationary while sharpening.
- Sharpening: Use the whole surface of the stone to maintain its evenness. Start with a coarse stone to shape the edge, then progress through finer grits. Use gentle, consistent strokes while keeping the blade’s angle steady.
- Flattening: After repeated use, water stones can become dished or uneven. They should be flattened using a flattening stone or plate to ensure effective sharpening.
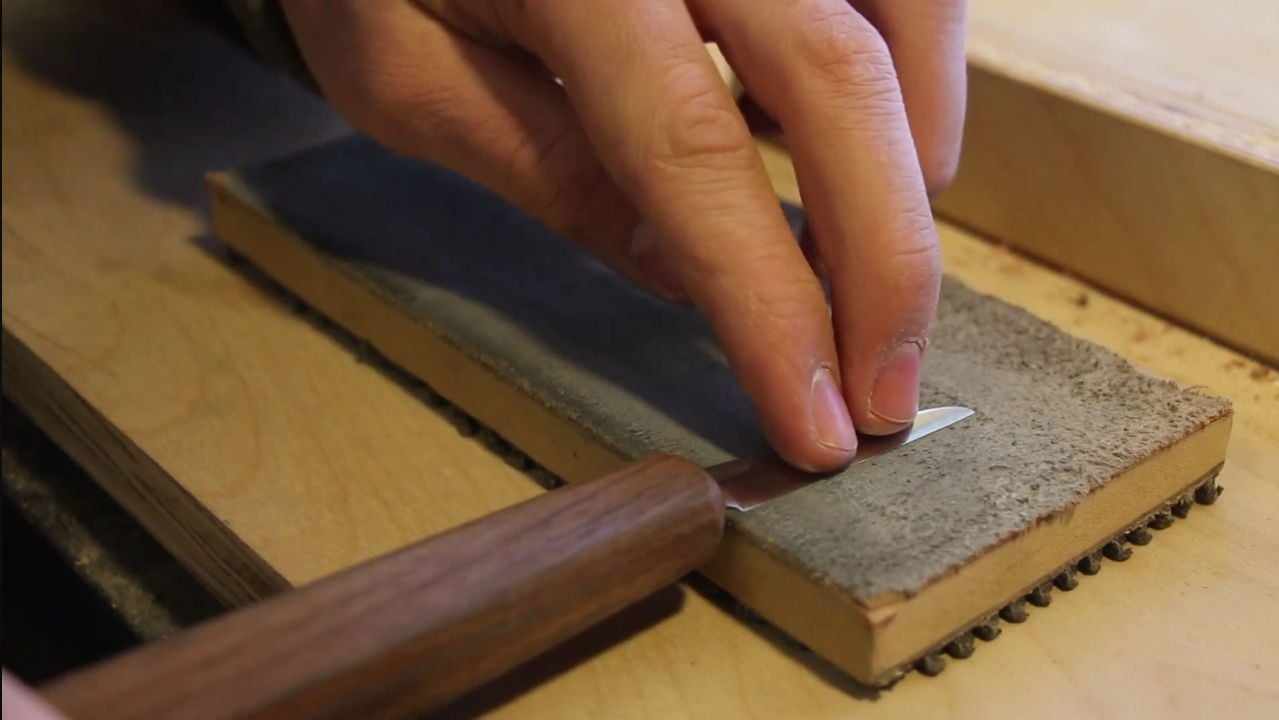
Stropping for a Razor-Sharp Finish
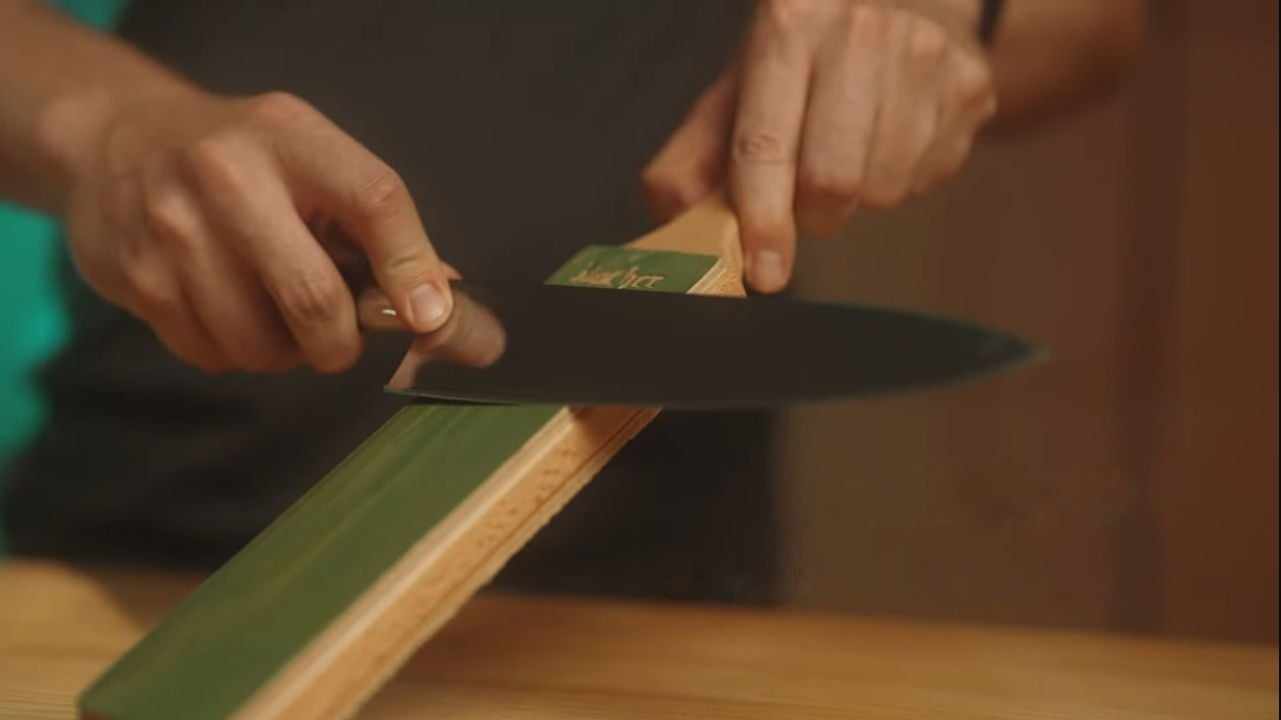
Stropping is the process of polishing an edge after sharpening, which can straighten out any remaining micro-burr and align the edge. It’s typically done on a leather strop but can also be performed on other materials like newspaper or even the palm of your hand (with caution).
- Preparation: Apply a small amount of honing compound to the surface of the strop if desired, which can further polish the blade.
- Technique: Hold the strop taut and gently draw the blade across it, edge trailing, at the same angle used during sharpening. Repeat on the other side of the knife after flipping it over.
- Consistency: Maintain light pressure and consistent angle for the best results.
By integrating these advanced sharpening methods into your routine, you can ensure your carving knife is always in peak condition, offering unparalleled performance and longevity.
Sharpening Safety Tips
When sharpening carving knives, safety is paramount. Here are essential tips to ensure you sharpen safely and effectively.
Proper Handling and Storage of Carving Knives
- Controlled Handling: Always hold the knife by its handle and keep your fingers away from the edge, even when passing the knife to someone else.
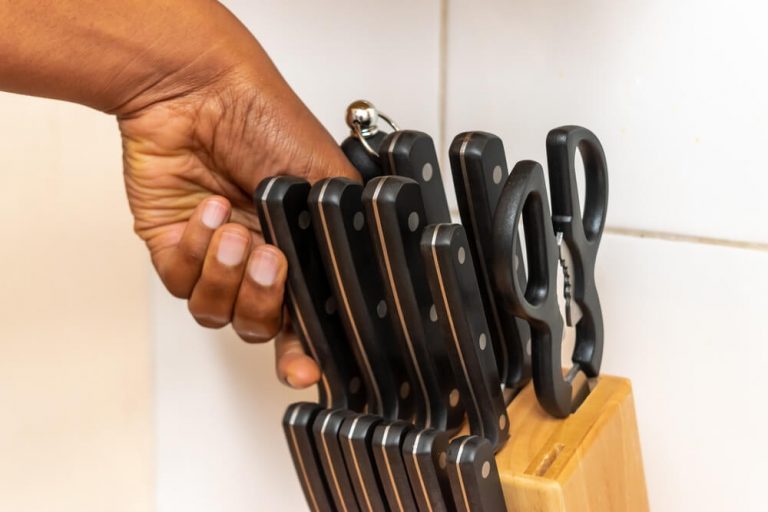
- Secure Storage: Store knives in a knife block, sheath, or a secure drawer with blade guards. This prevents accidental cuts when reaching for them and also protects the blades from damage.
Safety Gear and Precautions While Sharpening
- Wear Cut-Resistant Gloves: Protect your hands by wearing cut-resistant gloves, especially on the non-dominant hand that guides the blade.
- Non-Slip Base: Use a non-slip mat or sharpening stone holder to prevent the stone from moving while in use.
- Focused Attention: Sharpening requires your full attention. Avoid distractions to maintain control over the blade at all times.
- Proper Lighting: Ensure you have adequate lighting to clearly see the blade and the stone, reducing the risk of accidental slips.
- First Aid: Keep a first aid kit nearby in case of any accidental cuts or nicks.
By adhering to these safety guidelines, you can minimize the risk of injury and make the sharpening process a secure and productive endeavor.
The Impact of a Sharp Carving Knife on Culinary Excellence
A sharp carving knife is quintessential in the culinary world for its role in enhancing the precision of cuts and the overall presentation of food.
Precision of Cuts
Sharp knives allow chefs to work with greater accuracy, ensuring clean and precise cuts. This precision is crucial when fileting fish, slicing vegetables, or carving meats, as it affects not only the appearance but also the cooking process and texture of the dish.
Knife Sharpness and Food Presentation
The sharpness of a knife directly impacts the presentation of food. A dull knife can crush or tear ingredients, marring their appearance and compromising the dish’s integrity. Sharp knives, however, make for clean cuts that improve the aesthetics and showcase the chef’s skill.
Testimonials from Professional Chefs
Professional chefs consistently testify to the importance of knife sharpening. Celebrity chefs like Gordon Ramsay and Thomas Keller emphasize that a sharp knife is safer, more efficient, and essential to executing dishes at the highest level. They advocate for regular sharpening as a non-negotiable practice in their kitchens, equating the sharpness of their knives with the respect shown to the ingredients and the final dish.
Maintaining Your Carving Knives
Maintaining carving knives is crucial for their longevity and performance. This is how to maintain the best possible condition for your knives.
Routine Maintenance and Storage Tips
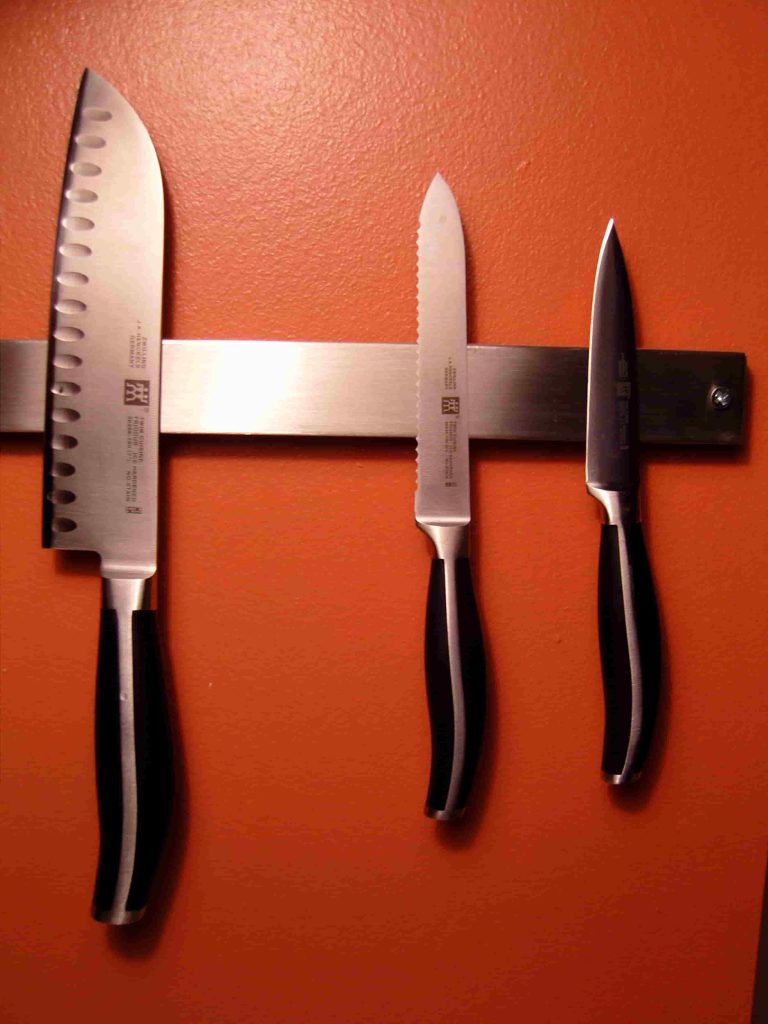
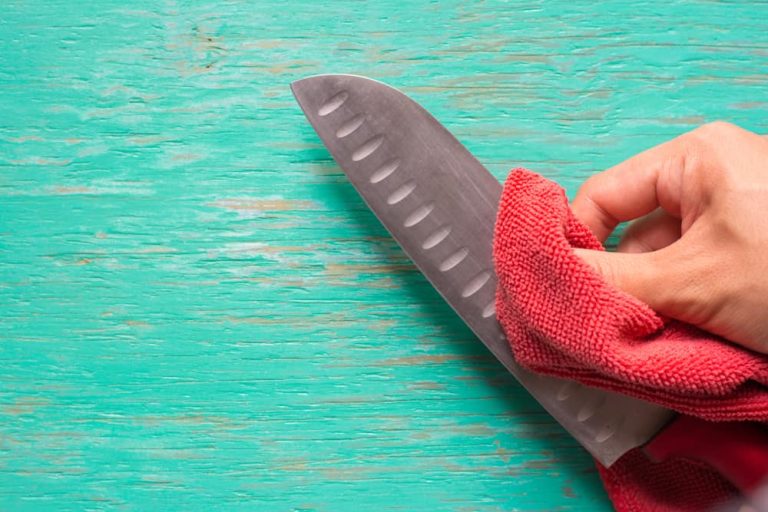
- Clean After Use: Wash knives by hand with warm soapy water after each use and dry them immediately to prevent rust.
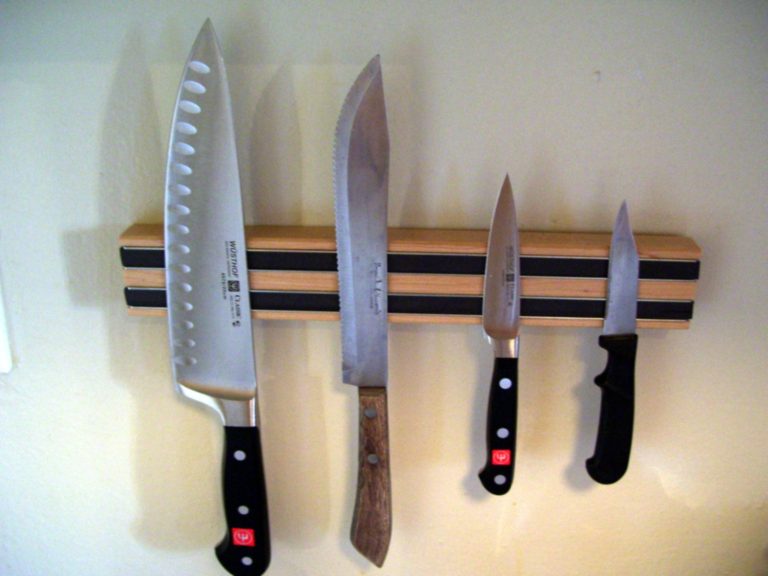
- Proper Storage: Store knives in a block, on a magnetic strip, or in a designated area of your drawer with a sheath or guard.
- Regular Honing: Use a honing rod regularly to maintain the knife’s edge between sharpenings.
Sharpening Frequency
The frequency of sharpening depends on usage. For professional chefs, sharpening might be necessary weekly, while home cooks might find every few months sufficient. Pay attention to the performance of your knife; if it starts to drag through food or requires more force, it’s time to sharpen.
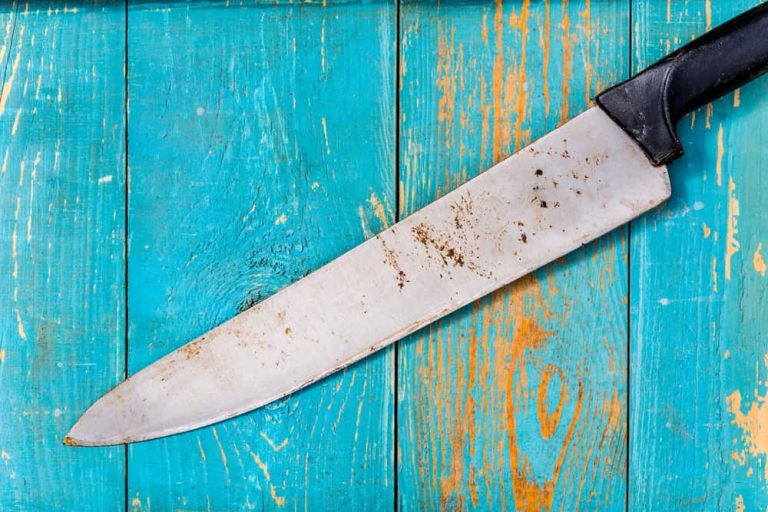
Dealing with Rust and Corrosion
If rust occurs, use a non-abrasive cleaner or a mixture of baking soda and water to gently scrub it away. Prevent future rust by keeping knives dry and applying a light coat of food-grade mineral oil to the blade occasionally. For corrosion and pit marks, professional resharpening might be necessary to restore the knife’s condition.
Conclusion
In this guide, we’ve traversed the essentials of how to sharpen carving knives, emphasizing the importance of selecting the right sharpening tools, understanding the correct techniques, and avoiding common sharpening mistakes. We’ve underscored the need for safety while sharpening, the profound impact a sharp knife has on culinary excellence, and the best practices for routine maintenance to prevent rust and corrosion.
Sharpening is a skill honed over time—continuous practice is key to improvement. May your journey to sharpening mastery enhance not only the blades in your kitchen but also the pleasure and pride in your culinary creations. Remember, a sharp knife is a chef’s trusted partner, and maintaining its edge is both an art and a commitment to the craft.